Customization
Customize App
- Customize App
- Security Privileges
- Collaboration
- Custom Views
- Column Sets
Customize App
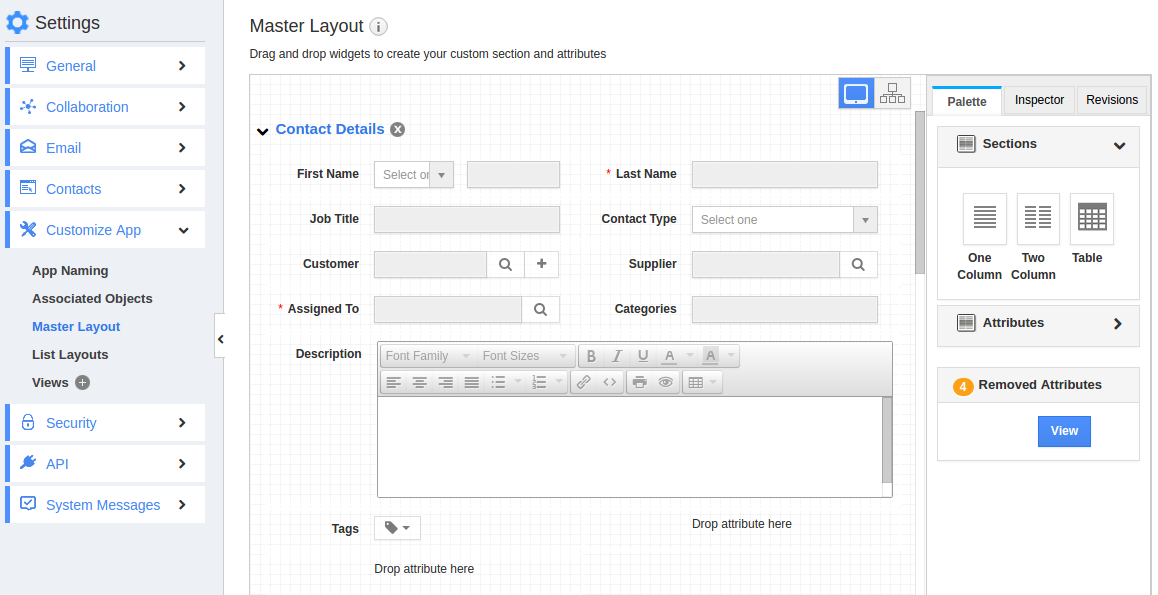
The CRM gives you the tools to customize each app per your business needs. You can add, remove and/or rename any field in the app. There are many different types of attributes to add such as radio buttons, date fields, drop downs and much more.
- Navigate to any of the apps
- Go to settings by clicking on … to the left of search
- Click on “Master Layout” from “Customize App” dropdown
- Drag and drop fields into place or delete fields
Security Privileges
Along with the extra attributes to be added, we have added security on each section. Say you don’t want an employee to be seeing private bank information about the customer, you can hide it from them. Not only can you hide the data, but you also have the ability to show the data but remove the editing capabilities. As a super user, you have total control over what your employees see and edit.
If you have created custom fields in Contacts App for your convenience, its natural that you would want to secure the critical data from the prying eyes. This is possible in Apptivo CRM. Unless and until you give the other users of your team the access privilege, the custom fields cannot be accessed or seen.
Lets go through the steps to secure custom fields.
Steps to Secure Custom Fields
- Access Contacts App from your universal navigation menu bar.
- Click on “More "
 icon and select “Settings"
  located at the app header bar.
- Click on “Customize App” drop down. Click on "Master Layout" from the left navigation panel.

- You can view “Inspector” tab. Click on "Security" Field in custom fields section as shown in the image below:

- Slide the "Toggle" button to "Green Color" to enable the security.
- Give privilege to view and edit access.

- You can also create new privileges by clicking on “Add New”.
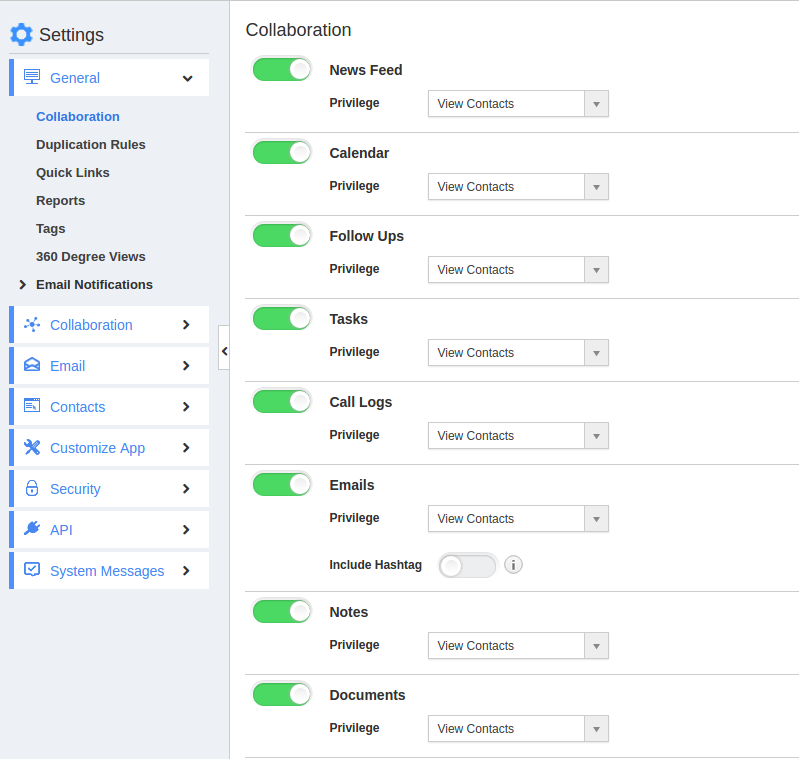
Collaboration
Each app comes with the standard collaboration functionality – news feed, calendar, follow ups, tasks, call logs, emails, notes and documents. You can restrict users from accessing any particular collaboration feature.
Custom Views
Grouped views can be used to show custom fields of an app. These views are convenient for easy access to popular search queries. Share these views with all your users.
- Go to the app
- Run a search – either basic or advanced
- Click “Save as View” in the upper right corner
- View saved views under “My Views” or “Shared Views” in the left menu.
How do I create my views in contacts app?
Contacts App supports to customize columns, this allows you to select your preferred fields for viewing contact information in a table view. By default you can view fields such as First Name, Last Name, Job Title, Contact Type And Assigned To.
- If you want to view more contact information, you need to select fields from “Display” field.
- You can save your custom view of contact information for your future reference in “My Views”.
Steps to Create My Views
- Access Contacts App from your universal navigation menu bar.
- Click on “Search” icon located at the app header bar.

- You can view the search results as shown in the image below:

- Click on “Please Choose” button in “Display” field.
- Select fields you would like to view in a table format.
- Click on “Save as View”button and specify:
- View Name – Name of the view.
- Share With Other Users – Slide “Toggle”button to share views with others. If needed.

- Click on “Save” button.
For instance:
- We have created a view in the name of “Custom View of Contacts”.
- Select "Lists" drop down. Click on “My Views” from the left navigation panel on contacts dashboard.

- You can view the created view as shown in the image below:

Column Sets
Customize it so you can see the columns you want to see in list views. Setup your own default columns within each app or make extra column sets for quick views.
- Go into an app
- Go to settings by clicking on … to the left of search
- Go to “View Column Sets” in the left navigation
- The top column set is the default column set. Edit the default or add your own.
Comments
0 comments
Please sign in to leave a comment.